How to create blog on Ghost

Have you ever dreamt of starting your very own blog? A space where you can share your thoughts, experiences, and creativity with the world? Well, you're in luck! We're going to walk you through the process of creating a beautiful blog with Ghost, a free and open-source content management system focused on blogging, email marketing, and subscription revenue, either by using Ghost.org's hosting service or by downloading and installing Ghost on your own hosting account, in this blog.
Whether you're a seasoned writer or a passionate beginner, this step-by-step walkthrough will help you set up a blog that not only functions flawlessly but also captivates your readers from the moment they land on your page. Along the way, we'll subtly introduce you to an exceptional theme that can take your blog to the next level. So, let's dive in and bring your blogging dreams to life!
Step 1: Sign up for Ghost
The first baby step to the gateway of blogging is to select a platform that meets all your requirements. Don’t worry, we made things easy for you! Just head over to Ghost: Independent Technology for modern publishing, where you'll find a simple and intuitive user interface waiting for you.
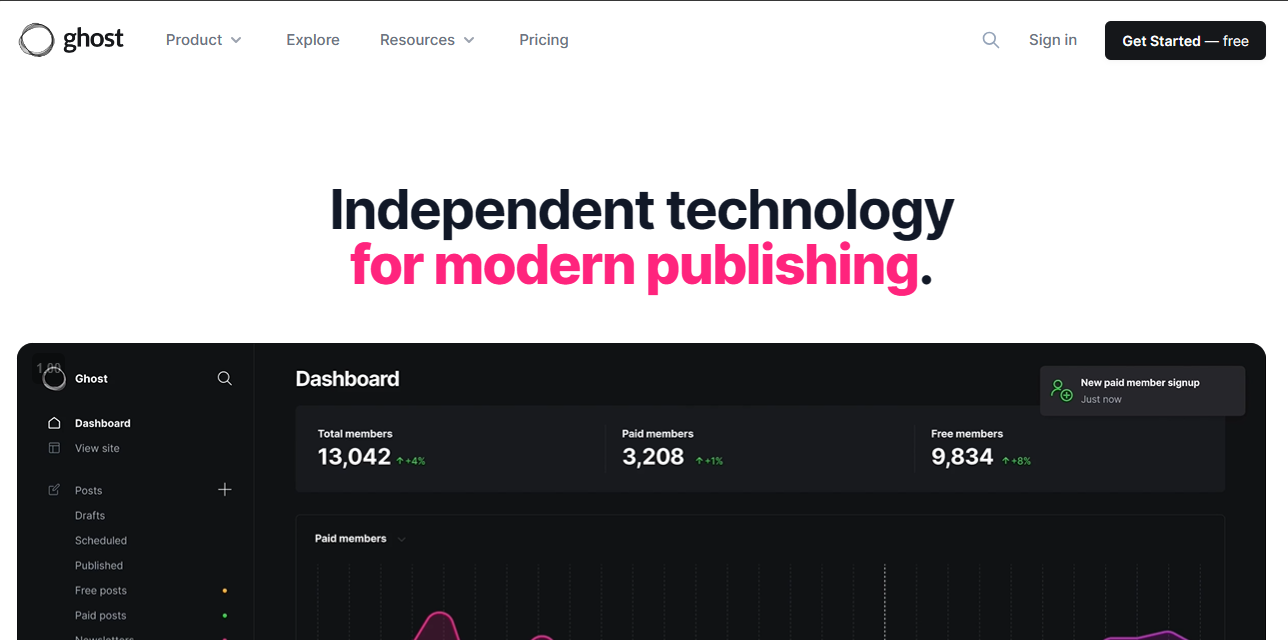
Ghost offers flexible plans, whether you prefer to start with a free trial or opt for a paid subscription. The choice is all yours.
Ghost offers a completely free trail for 14 days!
For now, let’s move forward with a free plan for this tutorial. If you’re completely new to Ghost, then you can directly click on the “Get Started — free” button. Else click on the “Sign in” button.
Upon clicking the sign-in button, you’ll be prompted to this page. If you previously had a ghost account and had a site address, then you can move forward by typing in the site address and pressing the continue button. If not, then click on “Get started here”.
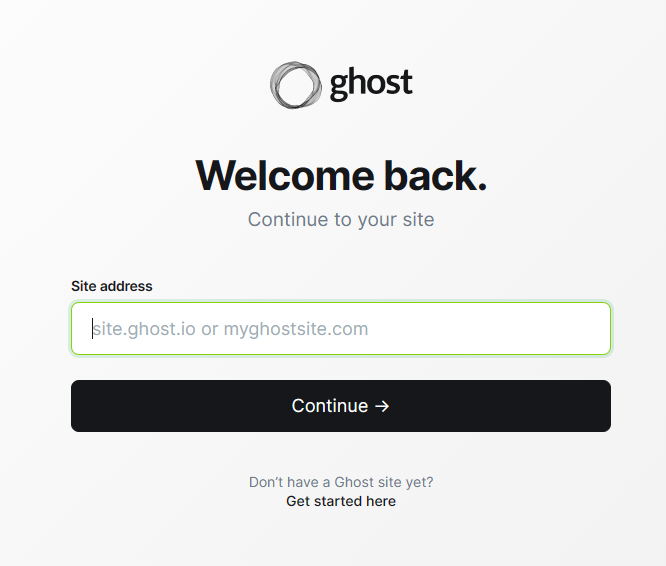
The “Get started here” button will prompt you to this.
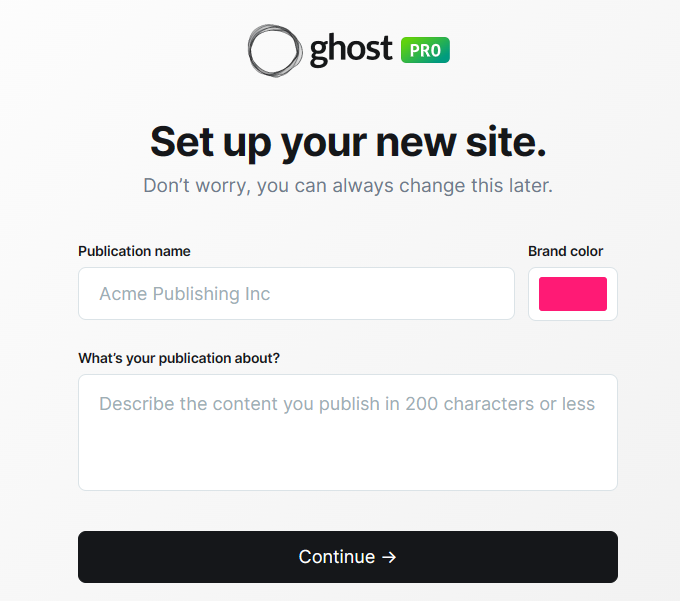
This page asks you to give a Publication name, a Brand Color, and a short description for your publication describing what it is all about.
Let’s fill in the details and move forward by pressing the continue button.
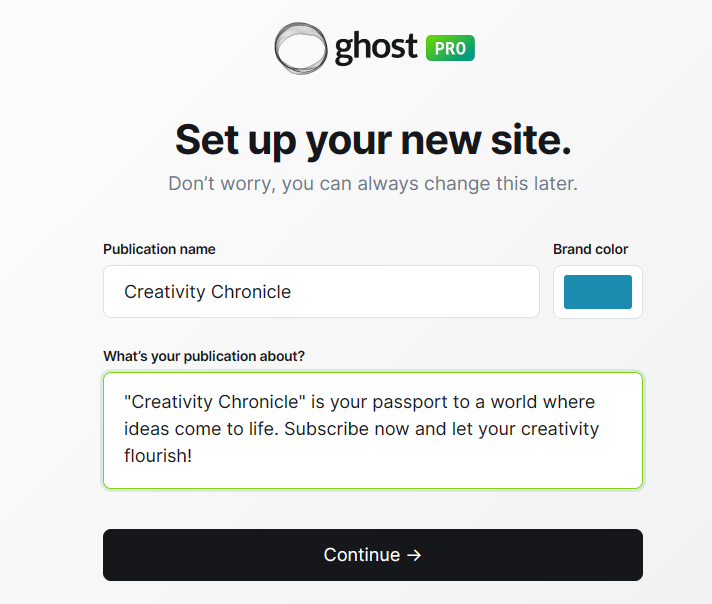
I’ve filled mine. Let’s move ahead now!
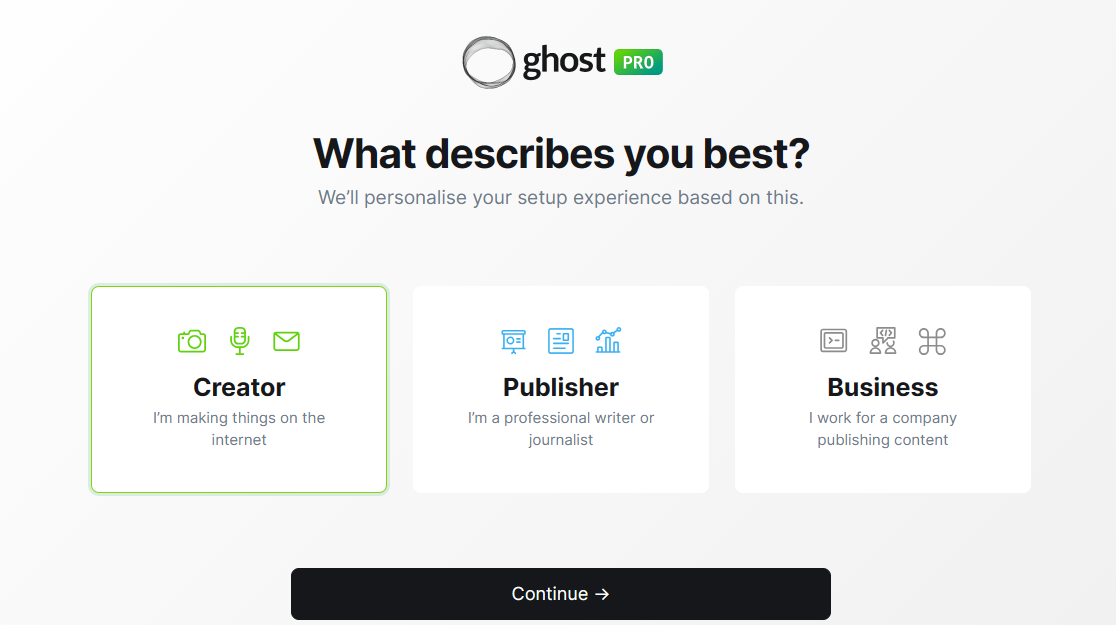
Select the one which suits you the best.
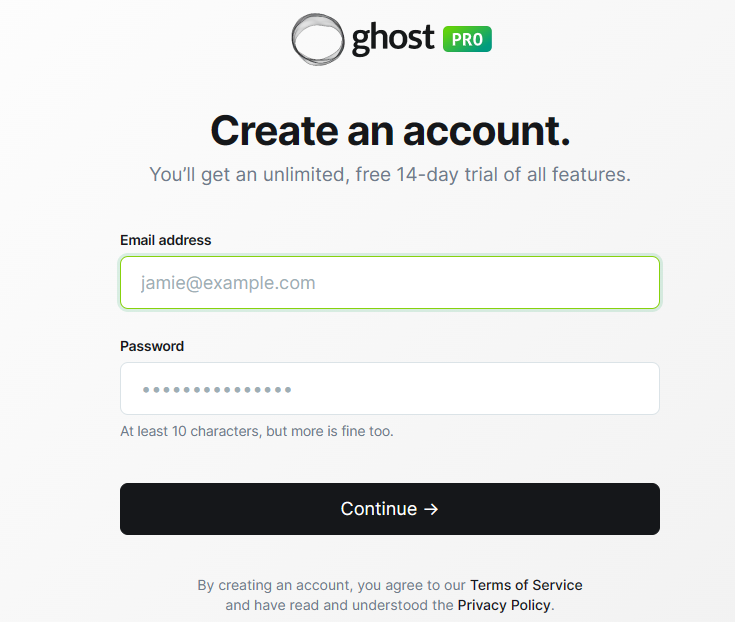
Fill in the details and yes, remember to jot it down. When your password plays hide and seek, let our memory magic be the cheat code you need!
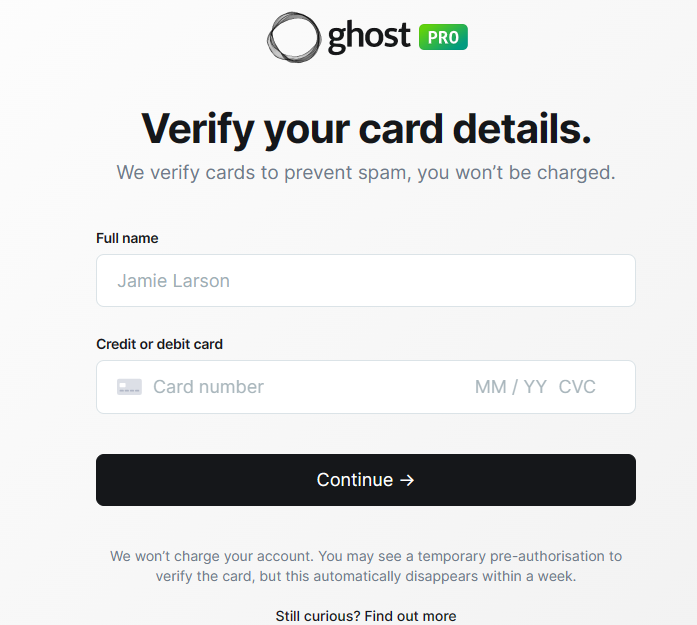
After filling in the account details, a verification page will be prompted in front of you. After successful verification, you’ll be heading to the page shown below which is the dashboard.
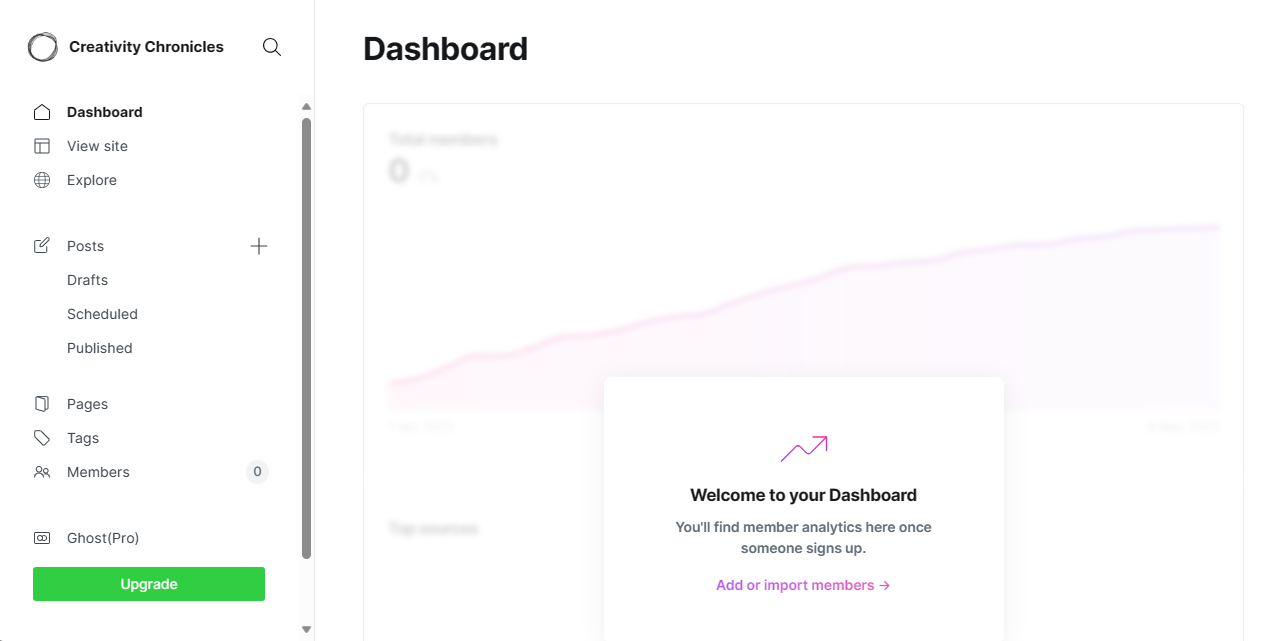
Step 2: Set Up Your Blog
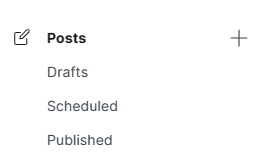
Now that you're officially on board, it's time to create your blog. As you see on the left vertical menu on your dashboard, an option for posts can be seen, with the options of draft, scheduled, and published posts.
Click on the “+” icon on the top right.
You’ll be headed to the page shown below.
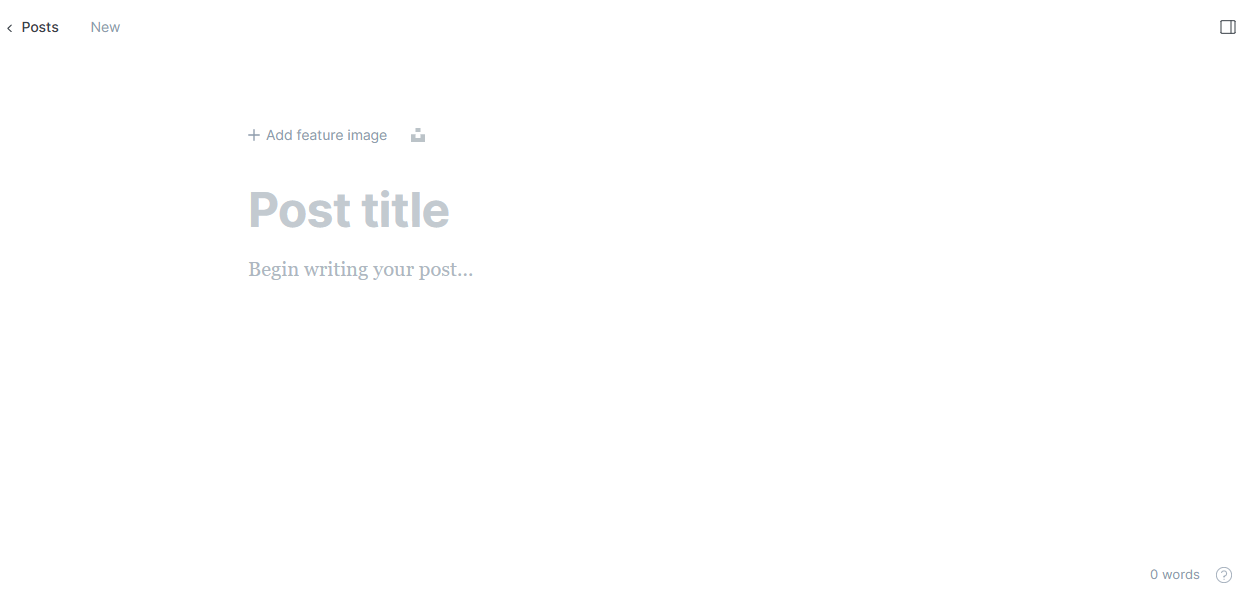
You can customize the post as per your requirements. From adding a title, image, audio, gif, email, CTA’s, and a lot of other components that you can use. You can add images from your local machine by clicking on the Add feature image option or directly from Unsplash by clicking the icon beside.
For more options, click on the + icon. You can see a variety of features prompted in front of you.
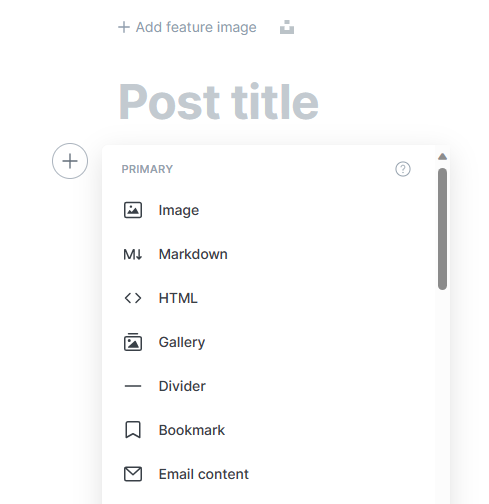
Quite simple.
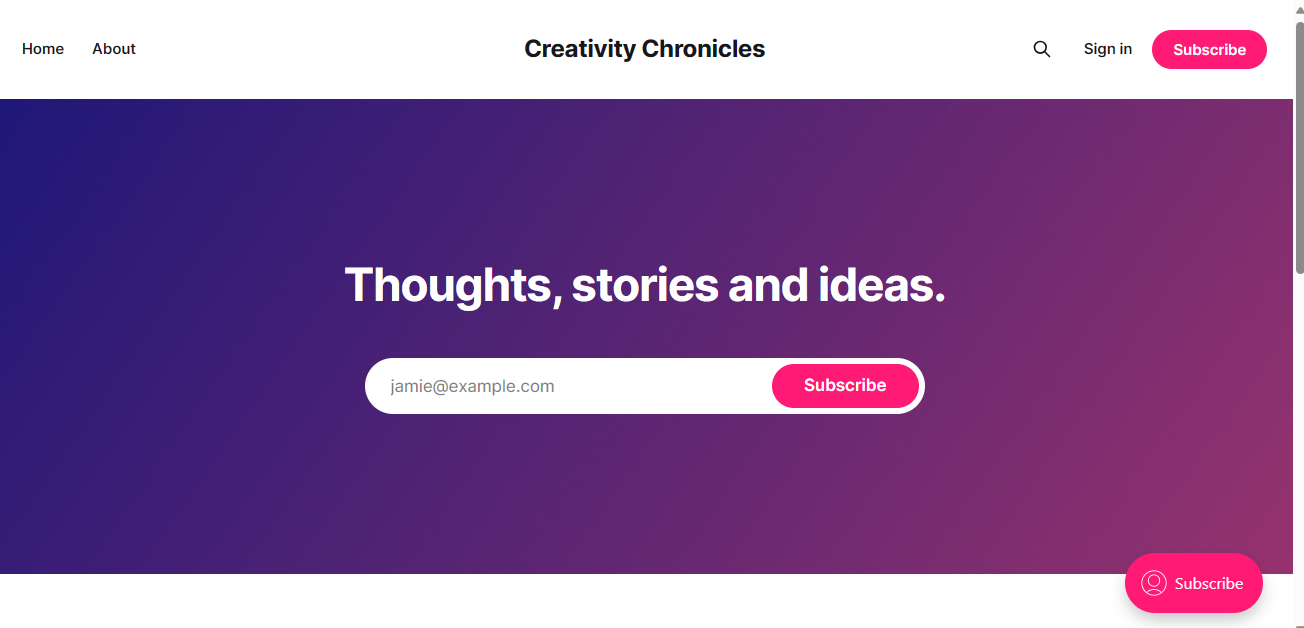
If you look into your site, it will look something like this. Since it’s a default theme that is assigned if we don’t select any other theme in the beginning.
Step 3: Choose Your Theme - Adding a Splash of Personality
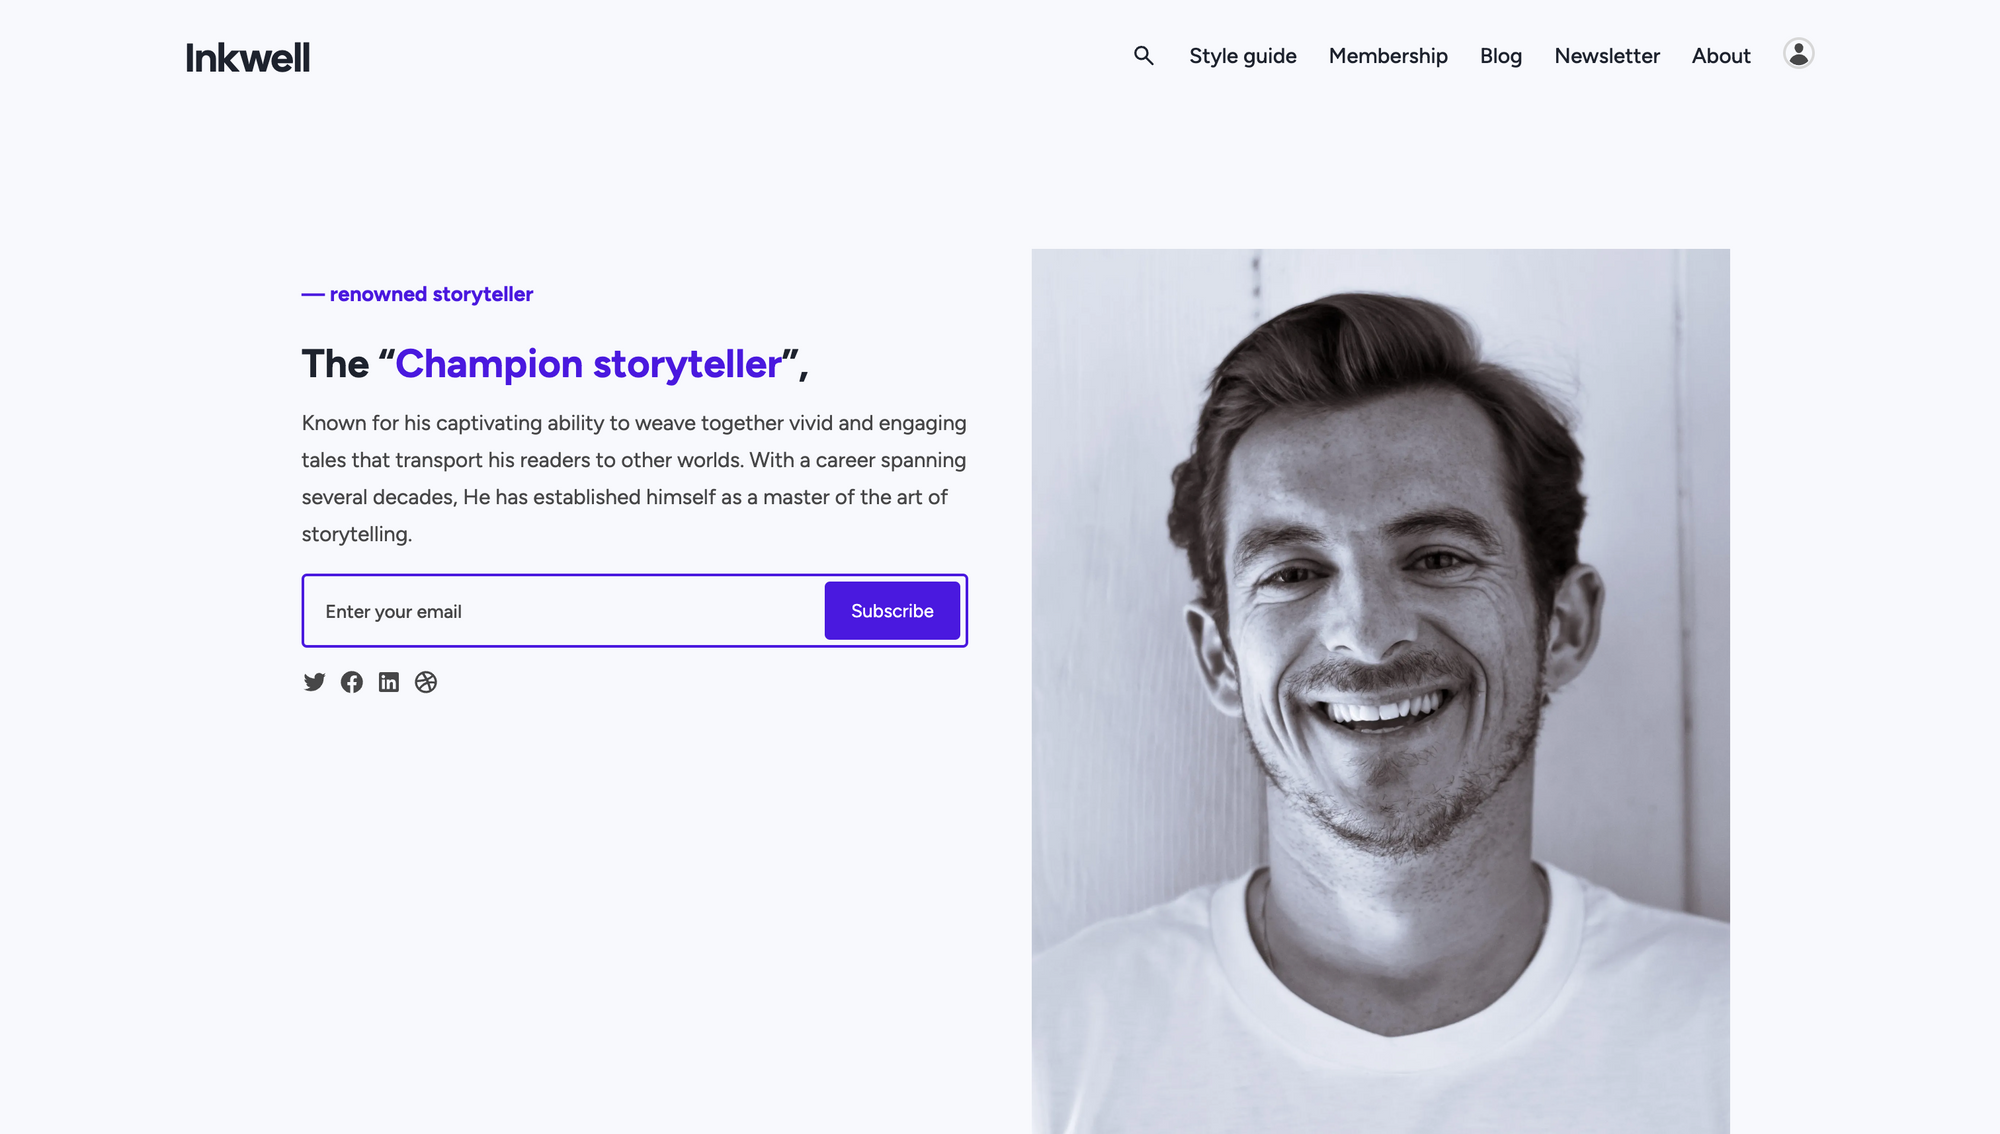
Your blog's appearance is your digital signature, so it's important to get it right. There are a lot of free themes available on the marketplace but in case you want a premium theme you can go with the Inkwell theme (I am the creator of this theme, and this website uses the same theme).
Designed especially for writers and creators, Inkwell offers a perfect blend of aesthetics and functionality. To see it in action, you can check the demo Inkwell Theme Demo.
You can also buy this theme on Gumroad.
Step 4: Start Writing
With your Ghost blog all set up and the Inkwell theme in place, it's time to bring your ideas to life. For demonstration, let’s write a blog on “Creativity” since we’ve named our publication “Creativity Chronicles”.
Write the blog, add the interactive elements that you want to add to keep the readers engaging, and press the Publish button on the top left.
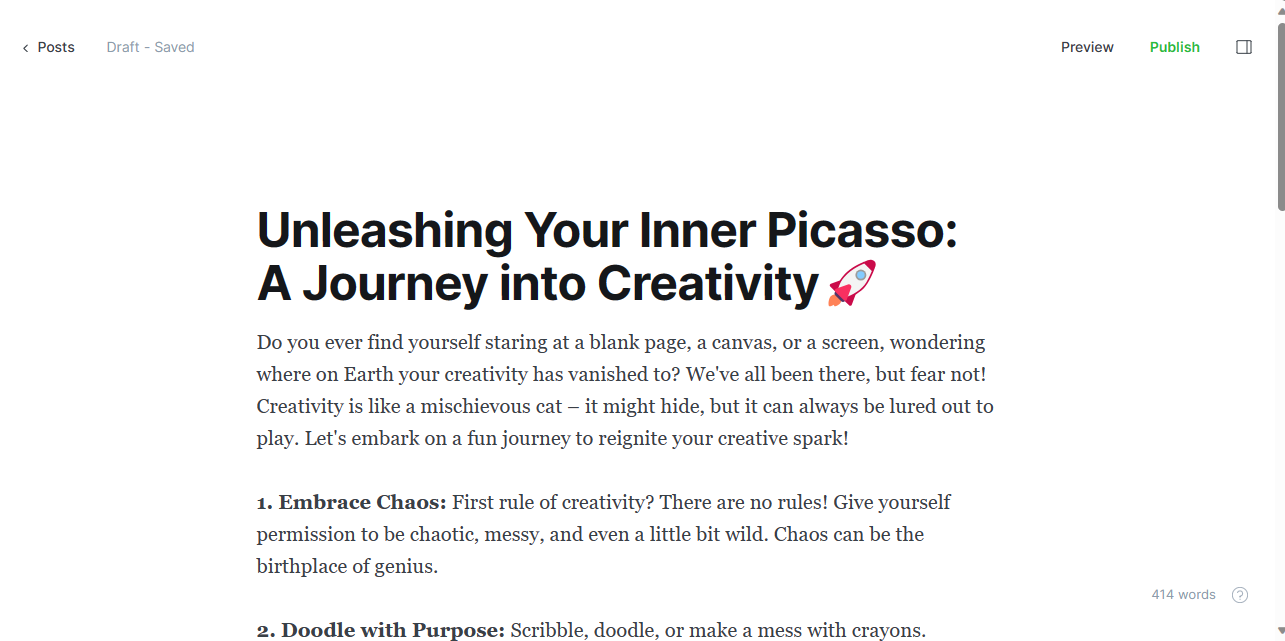
You can also save your post as a draft, allowing you the freedom to step away and return to your work with a fresh perspective. In case you want to go for a coffee and come back to work again. Keep your posts in the draft and get it covered.

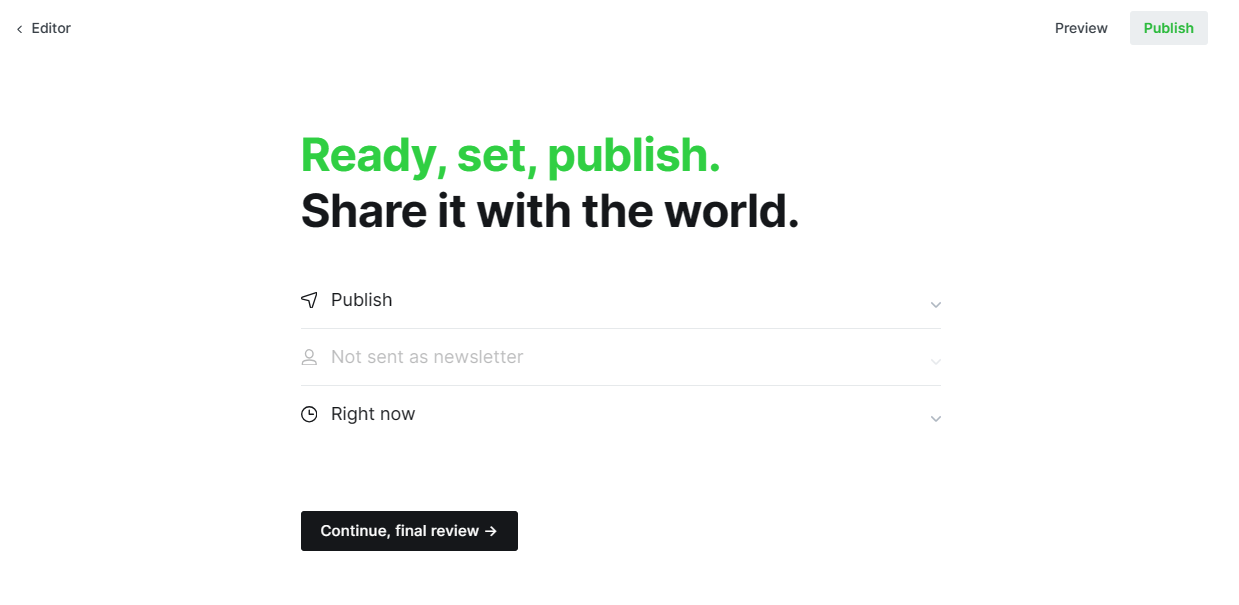
After pressing the Publish button, you can see this page prompted in front of you asking for the final review before publishing it.
Upon pressing the publish button, a few options like this will pop up.

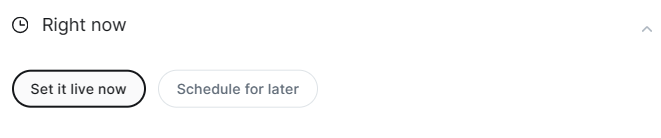
Upon pressing the Right Now button, a few options like this will pop up.
To publish your post, click on “Continue, final review➡️”.
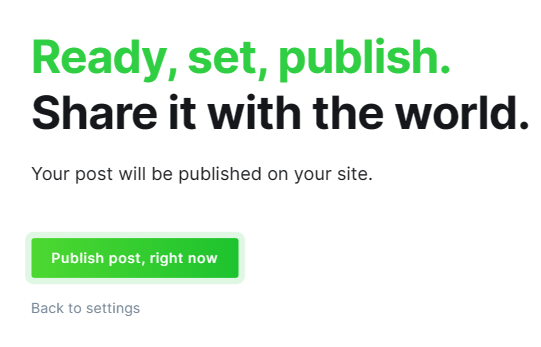
The page asking for final confirmation will pop up in front of you like this. Press the “Publish post, right now” button.
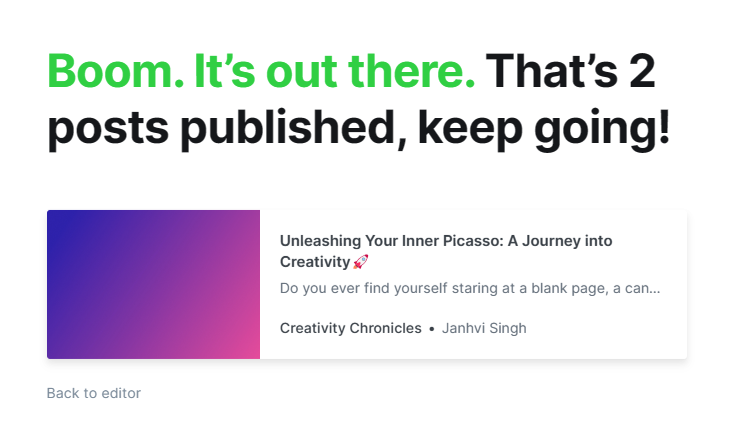
And there you have it, your very first blog is live!
After publishing, you can find your blog in the Posts section.

Yay! You’ve done it. You’ve successfully published your first blog.
Last but not least, let’s look into another important prospect of your journey which is, setting up a blog(website).
Setting up a blog (Website)
Step 1: Go to Settings
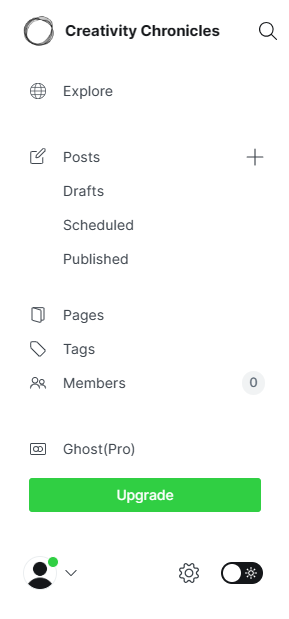
Click on the settings icon in the bottom right corner.
Step 2: Set up the Blog (Website) as desired.
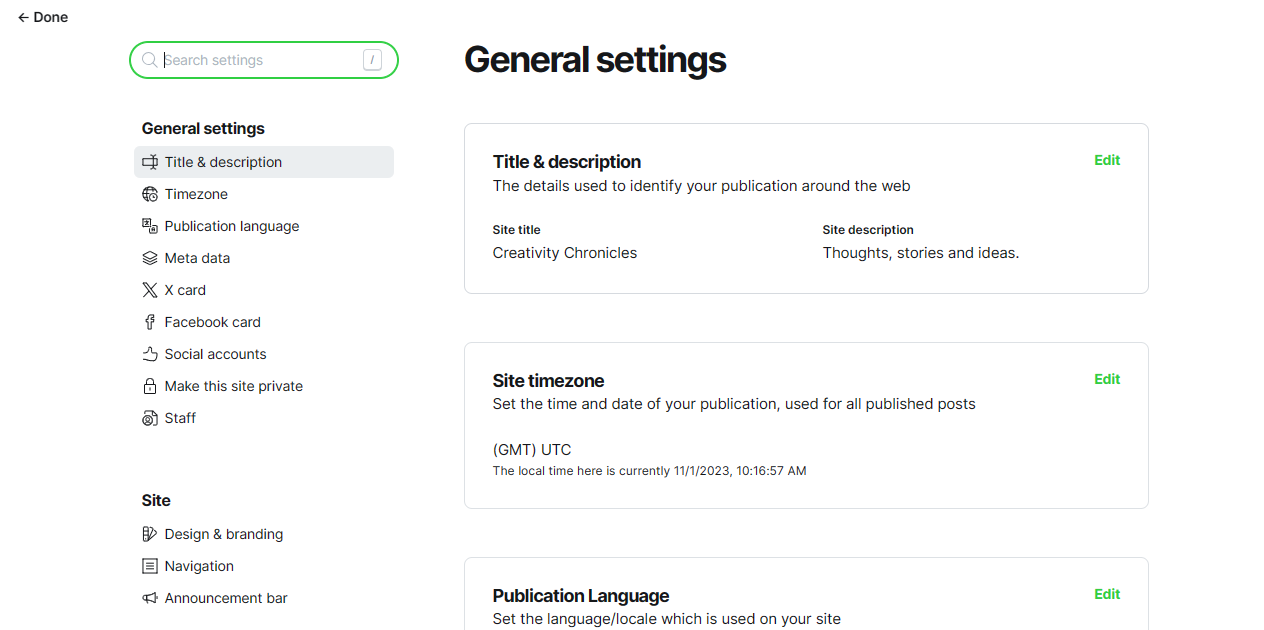
There are several General settings, Site, Membership, Email newsletter, and some advanced settings are present. Have a look at them and change them as per your desired requirements.
- Changing title & description:
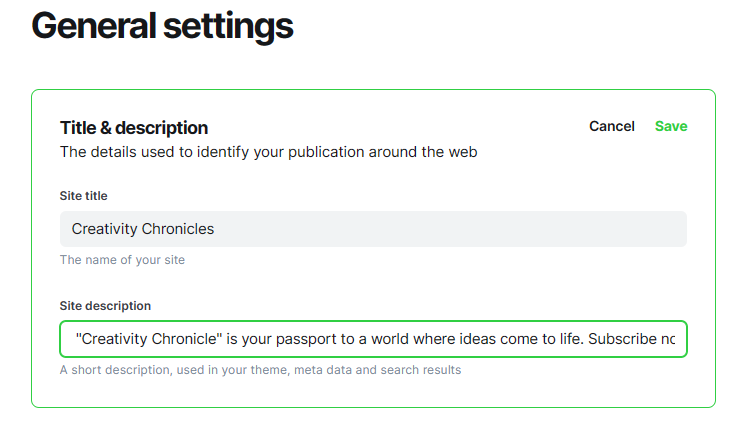
Edit the Site Title and Site Description as per your intent and press Save.
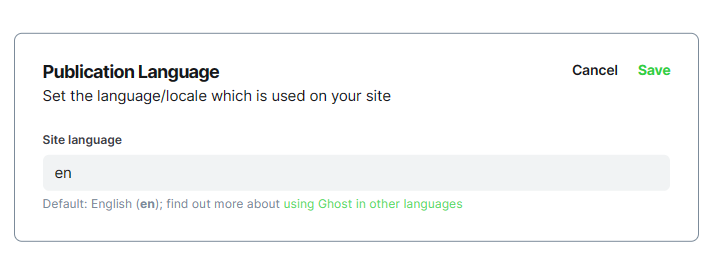
- Publication-related settings: The Publication language can be changed as per your preference.
- Meta settings: Configure the blog’s meta title and description.

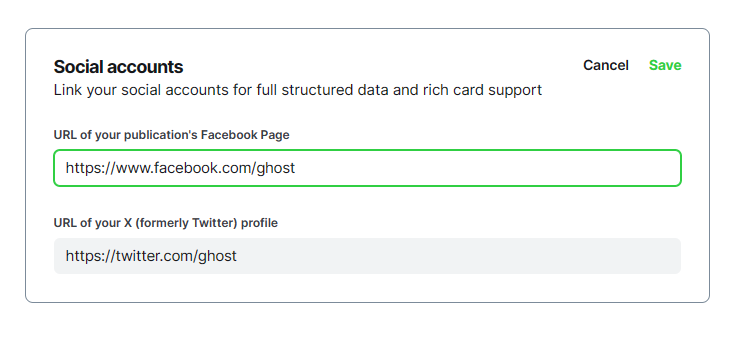
- Social accounts: Add URLs to your Facebook and Twitter accounts.
- Site settings: Your site can be fully customized as per your choice!
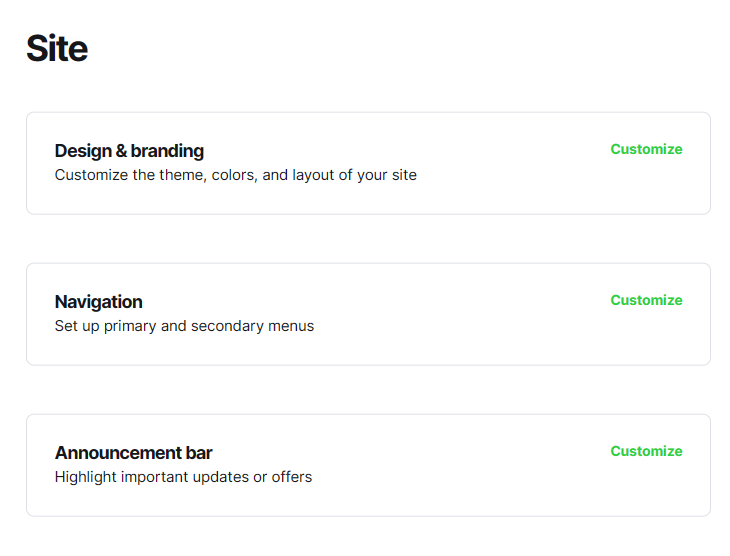
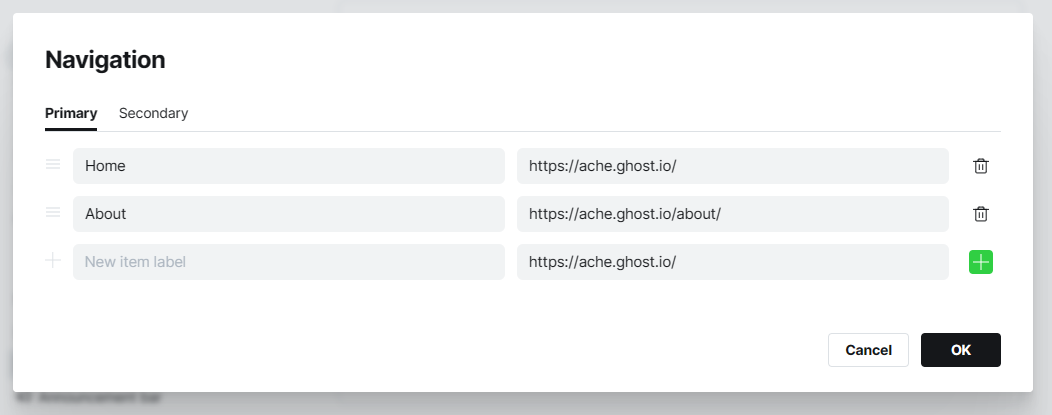
Changing Navigations:
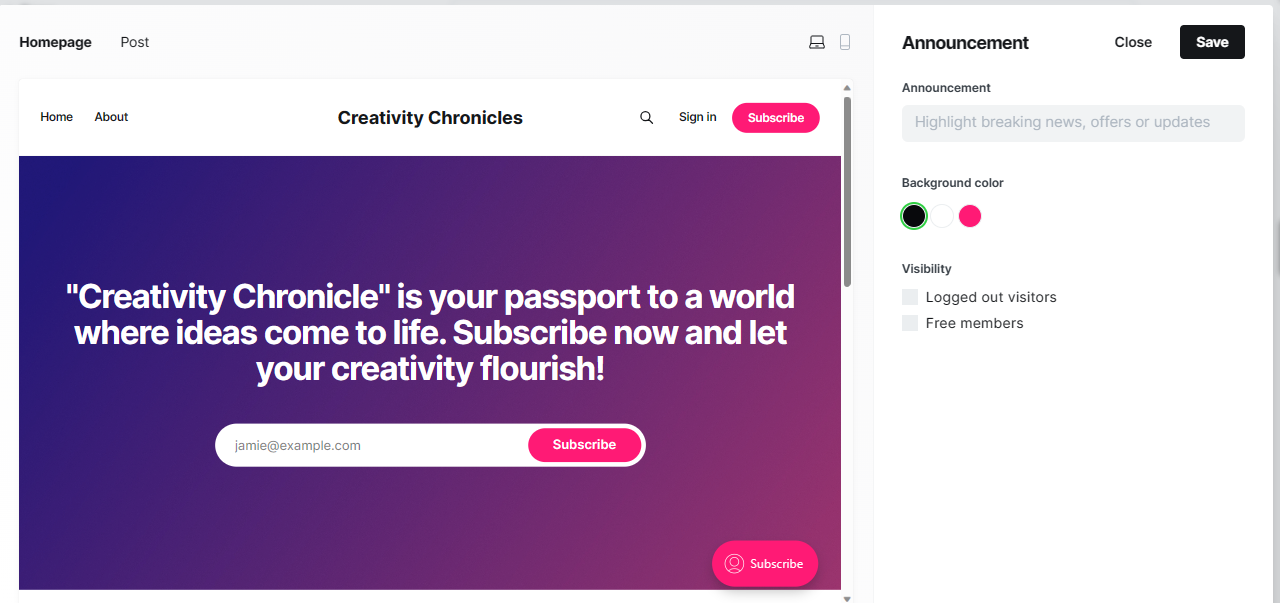
Customizing announcement bar:
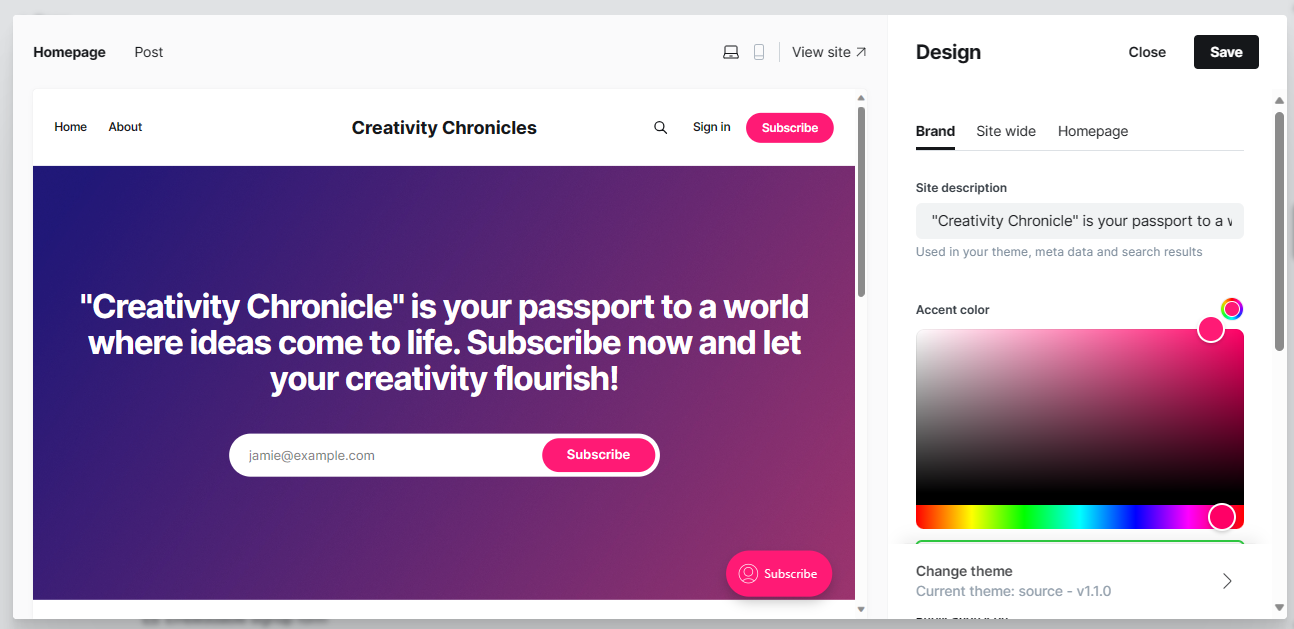
Customizing Design & Branding:
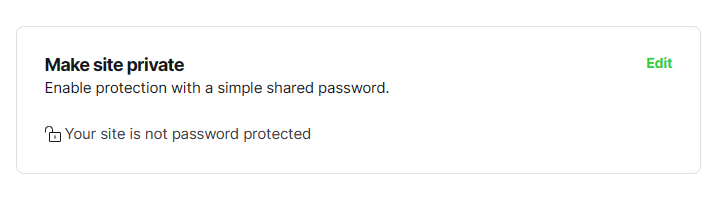
- Make your site private by hiding your blog from search engine indexation. Use this function while setting up and editing the blog and re-open indexation after finishing.
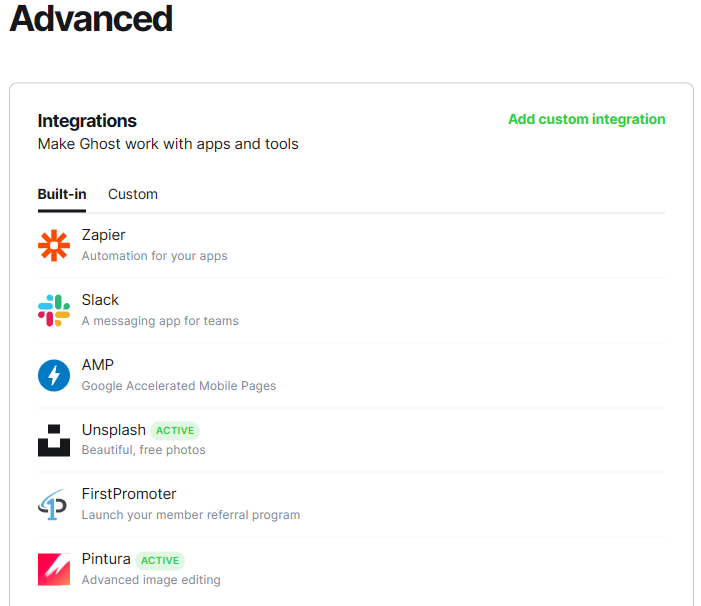
- Advanced Settings: In advanced settings, we can manage the integration of ghost with other services.
Congratulations, you're on your way to making your mark in the blogosphere. Happy blogging!


